If you've been reading
Arcol-o-Gist, you may have seen my posts there about
designing a Tai Chi Labyrinth, and the evolution of that design into my
Tai Chi Labyrinth garden. You may also have seen some posts about trying to grow more of my own food, to reduce my use of fossil fuels and the associated impacts on oceans, climate, native prairie, nutritional content of food . . . okay, I'm getting off the topic already.
I am writing this blog as a discipline, to focus more of my attention, more regularly, on gardening. My aim is to feature one garden bed each day, regardless of whether I have one ready for public viewing or not. But just in case you're thinking I'm possessed by a
Babylonian demon that's demanding rigidly scheduled productivity: I won't present the beds systematically, but in the order that they themselves demand my attention. So there.
And in case you're wondering what's of interest here for you: remember, this is no ordinary garden. It's a Tai Chi Labyrinth garden, probably the only one in existence, anywhere; and at the same time, it's an attempt to grow a serious quantity of food in a fairly small area, in a northern climate.
If the Tai Chi Labyrinth angle interests you, perhaps you'll want to just read the rest of this introductory overview, and then wait until I develop a virtual walkthrough (probably this fall, after gardening season; I'll add a link in the sidebar when it's done).
If serious food production in a northern climate is your interest, I don't have a lot of the wisdom of experience, but I hope that this diary will gradually become a storehouse of detail on what I did, when and how, what worked, and what didn't. You're welcome to follow along on this beginner's journey and see what I learn along the way.
Now, before we get started, here is an overview of what this Tai Chi Labyrinth garden is all about.

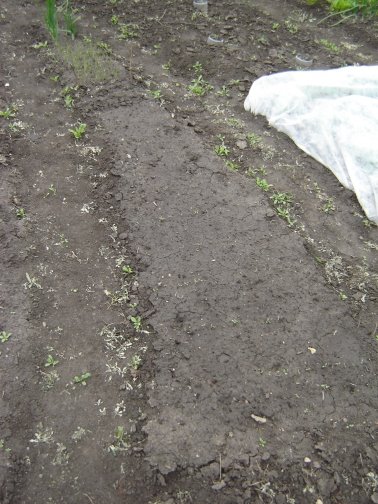
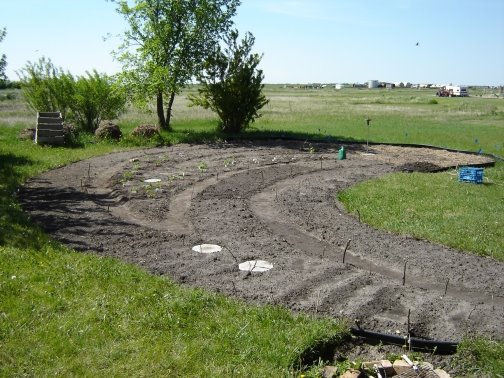
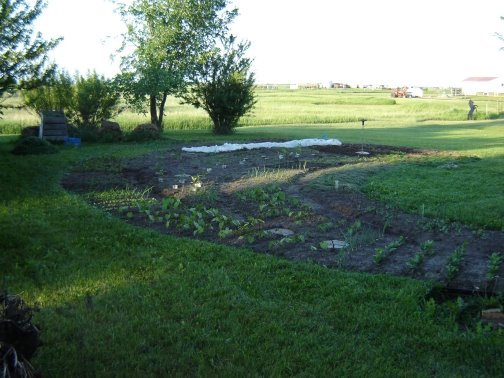
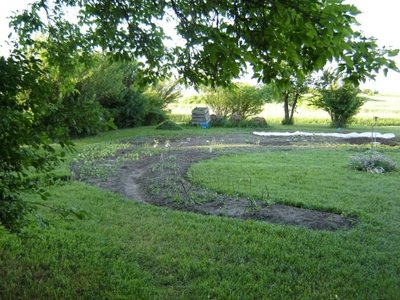
The garden as it appeared on May 31st.
The garden beds make up one half of a Tai Chi symbol, or yin-yang: the half which is coloured black, representing yin. The paths between the beds are actually one long continuous path, winding back and forth as a labyrinth for meditative walking. A few stepping stones are strategically placed to allow shortcuts through the design for garden maintenance.

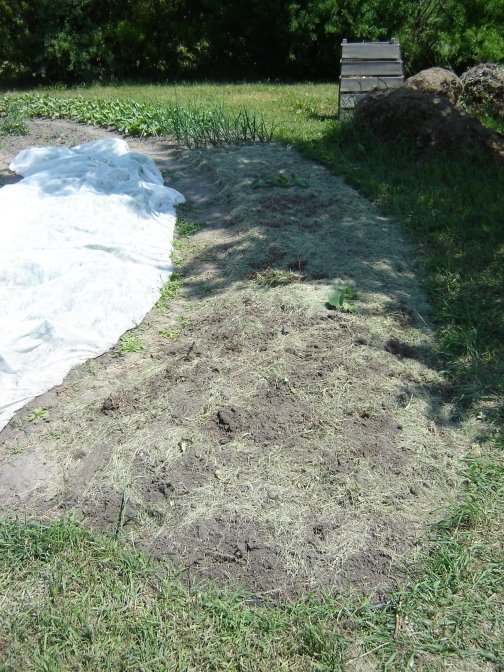
Someday the path will extend out into the adjacent lawn area as well, tracing its meanders through the yang portion of the design, which at present is left to the imagination. (At one point I had hoped to fill the whole symbol with garden, but I was told I couldn't have that much of the yard.) Aside - I'd like to find about 800 of the original Arcola bricks (made at the brick plant just a stone's throw southeast of our present yard), bring them home to the earth they came from, and set them into the ground as path outlines.
I had not anticipated how very attractive the garden would be, especially the "S"-shaped border through the centre of the design.

(Eventually that whitish thing where the yang dot should be will be replaced by a dot of grass - buffalo grass, so I can be sure of controlling its spread. If you're wondering what the whitish thing
is, it's a discer blade that spent some time in the role of a bird-bath basin, but now the bird bath is upside down, and its post is serving nicely as an anchor for the rope I use to lay out arcs.)
Another thing I hadn't anticipated is the power of that curving path, beckoning me into the garden.
On the downside, I hadn't expected to have so many family members trying to correct this part of my design for me. (At least they're interested!)

I try to explain that the garden beds, although wide, are actually lines outlining paths, and at this spot, the outside line has to change from garden to grass to begin the yang part of the symbol. Someday I will publish details of the geometric construction of the design, and it will all make sense. Trust me, it's elegant. That's what drove me to build it - the amazingly simple layout process that somehow fell into my mind. If it weren't for that, I would still be fiddling with sketches and dreaming about next year.
Here is what the garden looked like overall, first thing this morning.

Now, on to the first bed!
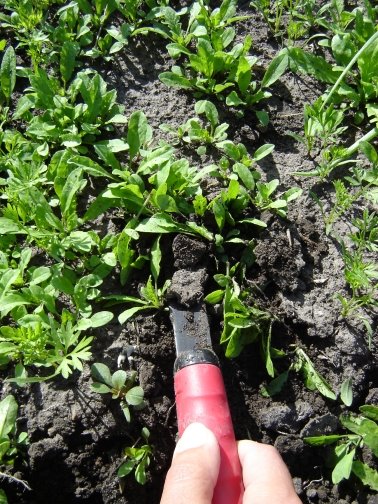
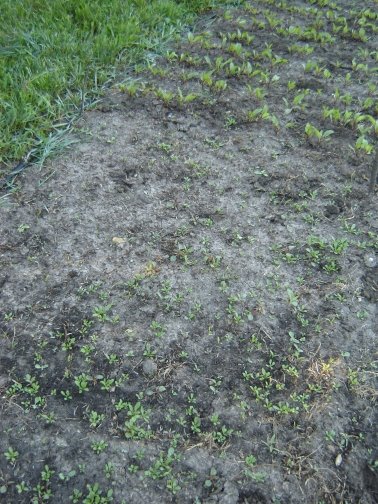
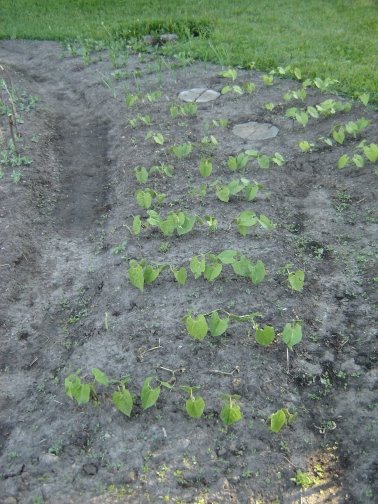
 June 28th photo
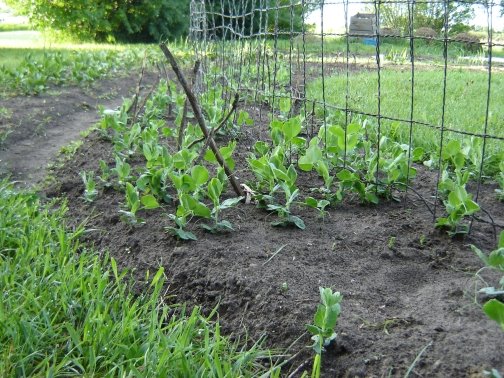
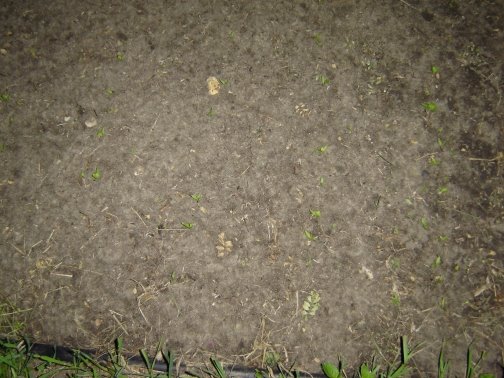
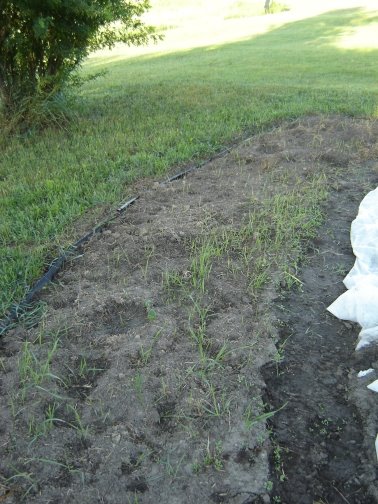 June 14th photo
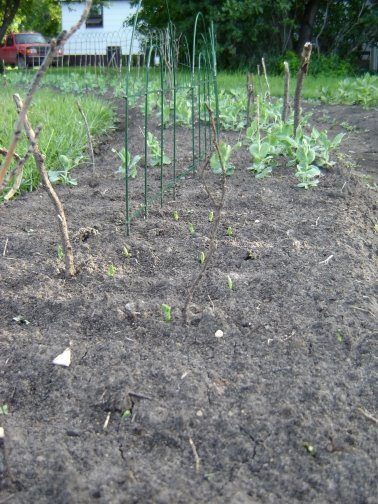